How to Make Chair Leg Floor Protectors at Home
Updated November 21, 2026
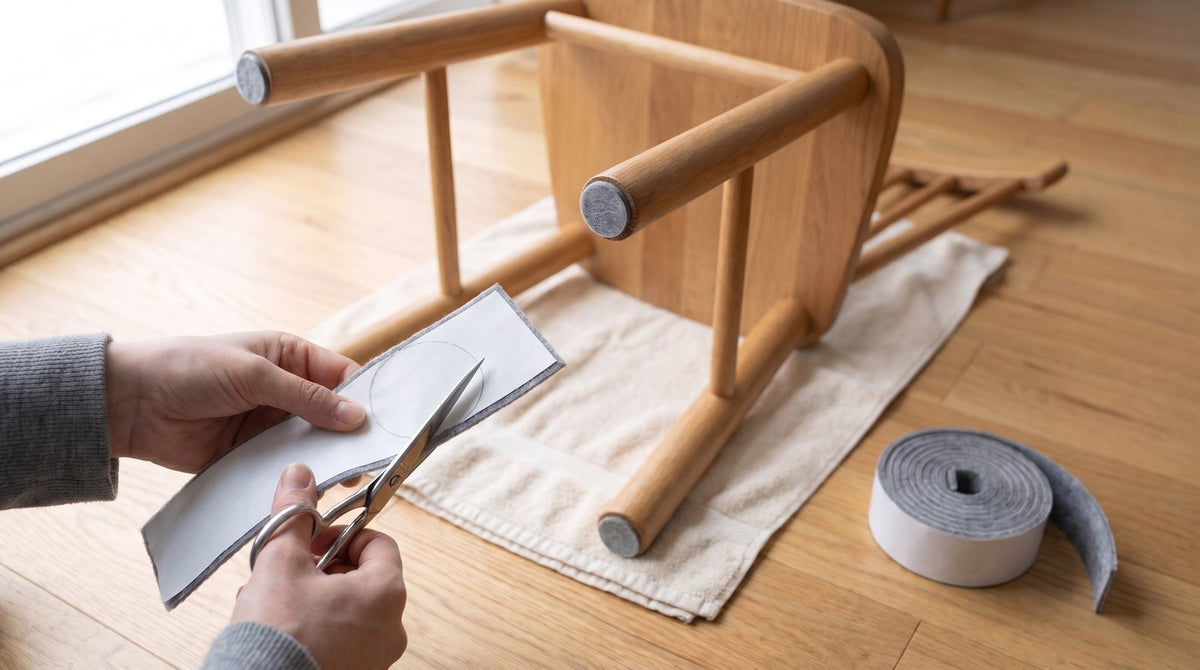
How to make chair leg floor protectors at home: stand each leg on the white liner of a self-adhesive felt strip, trace around it, cut just inside the line, clean the leg end and press the felt on for 30 seconds. That takes about 10 minutes for a four-legged chair. It holds well on chairs that are moved now and then; on dining chairs dragged every day, stick-on felt can peel within weeks, and a cap that grips the leg lasts longer.
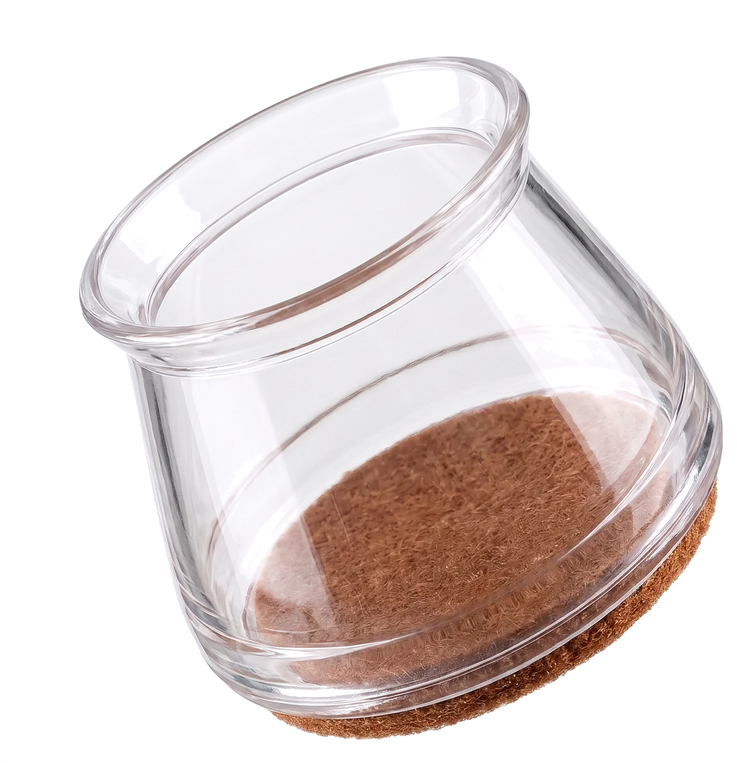
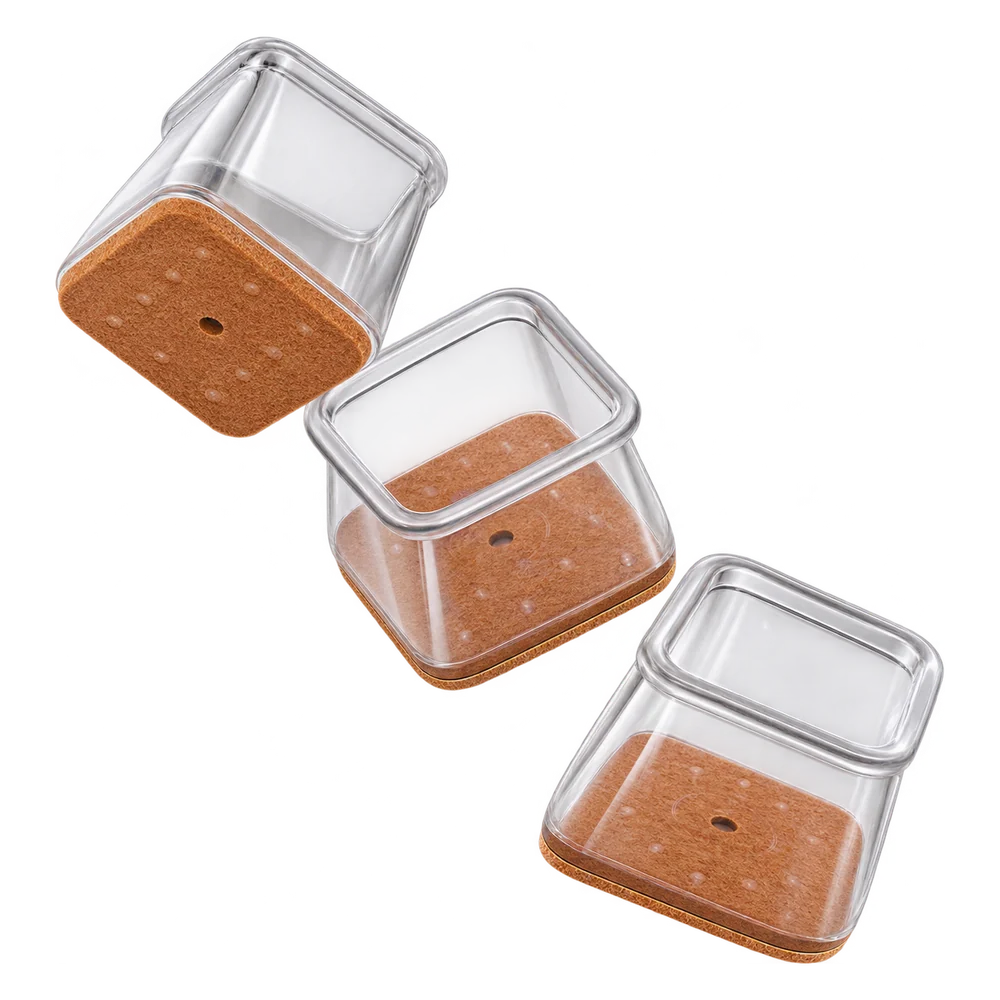
This guide covers the four DIY methods people actually use (felt cut to shape, trimmed felt pads, tennis balls and socks), with the steps for each, how long each takes, and where each one fails. For the felt, a roll of felt for bottom of furniture lets you cut any shape, and a pack of self adhesive furniture pads saves the cutting on plain round or square legs. If you would rather not make them at all, our chair leg floor protectors and chair leg caps slip over the leg instead of sticking to it.
DIY chair leg protectors: the four methods compared
| Method | Time per chair | Best for | Where it fails |
|---|---|---|---|
| Felt cut from a roll | About 10 min | Any leg shape, including odd or oval ends | Peels when the chair is dragged sideways every day |
| Ready-cut felt pads, trimmed | About 5 min | Round or square legs that match a pad size | Same peeling; a pad wider than the leg catches and lifts |
| Tennis balls | 15 to 20 min | Classroom or kitchen chairs where looks do not matter | Bulky, hard to cut safely, worn felt exposes rubber |
| Socks | About 5 min | A quick, temporary fix | Slides down the leg and bunches under the foot |
What you need
- Self-adhesive felt, as a roll or a sheet. Plain felt also works with contact cement (see below).
- Sharp household scissors and a pencil or pen.
- Rubbing alcohol and a clean cloth to wipe the leg ends.
- A folded towel to lay the chair on, so you do not scratch the floor while you work.
Use felt sold for furniture, with an adhesive back, rather than craft felt. Craft felt is soft and loosely pressed, so it wears through quickly under a chair leg. Whatever felt you use, replace it once it has gone flat (see Keep them working).
Method 1: Cut felt to the exact shape of the leg
This is the most reliable DIY method, because the felt matches the leg end exactly.
- Clean the leg ends. Lay the chair on its side on a towel. Scrape off old glue or pad residue, wipe each end with rubbing alcohol and let it dry. Adhesive does not hold on dust, wax or old glue.
- Check that the end sits flat. Stand the chair upright and look at each leg from the side. If a leg touches the floor on one edge only, it is splayed; see the section on why protectors fall off.
- Trace. Lay the felt strip on the floor with the white liner facing up, stand the leg on it and draw around the leg.
- Cut just inside the line, about 1 to 2 mm, so no felt sticks out past the edge of the leg. Overhanging felt catches when the chair moves and starts the peel.
- Round the corners of square or rectangular pieces slightly. A sharp corner is where peeling starts.
- Stick it on. Peel off the liner, press the center first, then the edges, and hold firmly for 30 seconds.
- Let it set. Leave the chair unused for a few hours, overnight if you can, before dragging it.
How much felt you need: our roll is 100 cm (39.4 in) long, in widths from 4 cm to 10 cm (1.6 to 3.9 in). A 4 cm roll cuts into 25 squares of 4 x 4 cm, enough for six four-legged chairs with one piece spare. Pick a width a little wider than your leg end so you can trace a full outline.
Using plain felt? Spread a thin, even coat of contact cement on the leg end and on the felt, wait until both are tacky, then press them together. Avoid a blob of hot glue: it sets hard and leaves the felt uneven, so it wears through at the high spot.
Method 2: Trim ready-cut felt pads
If your legs are plain round or square, a pad that is already cut saves the tracing. Our 101 piece pack has round pads of 22, 28 and 45 mm, square pads of 22 and 45 mm, two rectangle sizes and one 150 x 97 mm sheet for odd shapes.
- Measure across the bottom of the leg.
- Pick the pad the same size or slightly smaller. If the nearest pad is bigger, trim it with scissors.
- Clean, press and wait, exactly as in Method 1.
Do not stack two pads to make them thicker. The bond between the layers is one more place for the felt to peel.
Method 3: Tennis ball protectors
Tennis balls quiet a scraping chair and grip the leg without adhesive, which is why schools have used them for years. They are also the method most likely to cut a finger. To skip the knife, our tennis ball chair leg caps come with the cross cut already made.
- Clamp the ball in a vise, or press it into a towel on a workbench. Never hold it in your palm while cutting: the blade skids on the felt.
- With a new utility knife blade, cut an X across the top of the ball. Make each arm of the X about as long as the leg is wide.
- Squeeze the ball so the cut opens, and push it onto the leg.
The limits: a tennis ball is about 6.7 cm (2.6 in) across, so it looks bulky on a dining chair. Legs much thinner than about 2.5 cm (1 in) fall out, and legs over about 4 cm (1.6 in) stretch the cut until it splits. Once the felt cover wears through, bare rubber touches the floor; rubber grips rather than slides, and on vinyl it can leave stains.
Method 4: Socks
Pull a child-size sock over the leg, fold the toe so there is a double layer under the foot, and hold it in place with a hair tie just above the cuff. It takes minutes and comes off without a trace, which suits a rental or a quick fix. The limits: knit socks slide down, bunch under the foot so the chair rocks, and collect hair and grit. Ready-made chair leg socks are knit to stretch around the leg, and some have a round felt pad in the closed bottom.
Why DIY protectors fall off, and how to stop it
- Sideways dragging. Pulling a chair out from a table pushes the felt sideways, and that shear peels adhesive from the leading edge. Cut inside the edge and round the corners.
- A dirty or waxed leg end. Clean with rubbing alcohol before you stick anything.
- Splayed legs. A leg that leans out touches the floor on one edge, so a flat piece of felt lifts on the other side. Slip-on angled chair leg floor protectors have a sole tilted 15 degrees that sits flat on legs splayed by about that much.
- Open metal tube ends. A hollow tube has only a thin ring for the felt to grip. On a round tube, chair leg plugs close the open end with a smooth plastic head; on hardwood, a cap with a felt base that fits over the tube is gentler.
- Wooden legs dragged every day. felt chair glides have a center nail you tap into the leg, so there is no adhesive to peel. They are 20 mm (0.79 in) across, so they suit leg ends that wide or a little wider.
What not to use
- Cardboard: it flattens, traps grit and falls apart the first time you mop.
- Duct tape: the adhesive goes gummy, collects dirt and leaves residue on the floor.
- Bottle caps and other plastic scraps: they are not shaped to the leg, so they tilt, and grit caught under the hard edge is dragged across the floor.
- Bare rubber on vinyl: it can stain vinyl and makes the chair judder instead of slide.
Keep them working
Felt protects the floor only while it is clean and still springy. Once a month on dining chairs, tip one over and look: felt that has gone flat, shiny or gray with embedded grit is now rubbing that grit across the floor, so replace it. Sweeping often keeps grit from getting into the felt in the first place.
When to buy instead of making
If you are re-felting the same chairs every few weeks, a cap that grips the leg is less work than adhesive. Measure first with our guide on how to measure chair legs for protectors, then compare the caps and covers in chair leg floor protectors. For tables, sofas and cabinets that rarely move, DIY felt cut from a roll or from our furniture pads range is usually all you need. For a wider look at the causes of floor damage, read how to stop chairs from scratching floors.
Questions
What is the easiest DIY protector?
Felt cut from a self-adhesive roll to the shape of the leg base. Trace the leg on the liner, cut just inside the line, clean the leg and press the felt on.
Do tennis balls work?
They quiet scraping, but cutting them is fiddly and they look bulky. They fit legs about 2.5 to 4 cm (1 to 1.6 in) across, and once the felt wears through, the rubber can mark vinyl.
Why do DIY pads fall off?
Pulling a chair out drags the felt sideways, and that peels the adhesive from the front edge. Clean the leg end with rubbing alcohol, cut the felt just inside the edge and round the corners. On chairs dragged every day, caps last longer because they grip the leg.
What should I avoid?
Bottle caps or plastic scraps, which tilt and drag grit; bare rubber on vinyl, which can stain it; duct tape, which leaves residue; and cardboard, which traps grit.
How often should I replace homemade felt?
When it looks flat, shiny or gray with grit. On dining chairs used every day, check one chair once a month.