How to Replace Chair Glides: Remove, Measure and Fit
Updated November 21, 2026

How to replace chair glides comes down to one rule: take the old glide off the same way it went on, then fit a new one that matches the leg end. Most glides are nailed, screwed, stuck or pushed into the leg, and each comes off with a different tool.
Short answer: tip the chair onto a blanket and look at the old glide. Pry a nail-on glide off with a flat screwdriver, unscrew a screw-in glide by hand, peel a stick-on pad after warming it, and pull a tube plug out with pliers. Clean the leg end, measure it, then fit a new glide of the same type and size on all four legs at once.
If you are not sure which type you have, the table below shows each one. For replacements sorted by how they attach, browse chair glides.
What you need
- An old blanket or towel to lay the chair on
- A flat-blade screwdriver or a stiff putty knife
- Pliers, ideally locking pliers for stuck nails and studs
- A hammer, or a rubber mallet for plastic plugs
- Rubbing alcohol and a rag
- A ruler or tape measure with millimeters
Which glide do you have?
Turn the chair over and look at the end of a leg. What you see there tells you how to remove the glide and what to buy.
| What you see | Glide type | How it comes off |
|---|---|---|
| A disc flat on a wooden leg, no visible fixing | Nail-on | Pry it up with a flat screwdriver |
| A round base that turns when you twist it | Screw-in | Unscrew it counterclockwise, facing the glide |
| A thin pad with an edge you can lift | Stick-on | Peel it off, warming the glue if needed |
| A cap sitting in the end of a metal tube | Push-in plug | Pull it straight out with pliers |
| A cup wrapped around the outside of the leg | Slip-on cap | Pull it off by hand |
How to remove chair glides, type by type
Nail-on glides: Slide the screwdriver tip between the disc and the leg and lever gently, working around the edge so the disc lifts evenly. If the disc comes away and leaves the nail behind, grip the nail with pliers and roll it out. Lever against a scrap of wood rather than the leg, so you do not dent the finish.
Screw-in glides: Turn the base counterclockwise by hand, as you look at the bottom of the glide. If it will not move, wrap it in a cloth and turn it with pliers. When the stud stays stuck in the leg, clamp locking pliers onto the stud itself and unscrew it.
Stick-on glides: Lift one edge with a fingernail or a plastic putty knife and peel slowly. If the pad tears or resists, warm it with a hair dryer for 20 to 30 seconds to soften the glue, then peel again. Rub off any leftover adhesive with rubbing alcohol on a rag.
Push-in plugs: Grip the head with pliers and pull straight out while rocking it side to side. If the head snaps off and the stem stays inside, drive a small screw into the plastic stem and pull the screw out with pliers.
Slip-on caps: Pull them off by hand. They are the easiest to replace, but the new cap must match the leg size exactly.
Prepare the leg end
- Clean it: scrape off old glue, felt and dirt, wipe with rubbing alcohol and let it dry. A new glide will not sit flat on a lump.
- Check for damage: a split wooden leg end needs glue and a clamp before a nail goes in. A metal tube end that is bent or squashed will not take a plug.
- Fix a loose nail hole: if the old hole is worn wide, push a wooden toothpick dipped in wood glue into it, snap it off flush and let it dry overnight. The new nail then has fresh wood to grip.
- Measure: for a wooden leg, measure across the flat bottom. For a tube, measure across the outside. Our how to measure chair legs for protectors page shows each case.
- Measure a screw-in stud: note the thread width and the length of the old stud. The new stud must match the threaded insert in the leg, so take the old glide to a hardware store if you are unsure.
Choose the chair glide replacement
The simplest choice is the same type you took off, in the same size. Switch types only when the old one kept failing.
- Wooden legs with a flat end: nail-on felt chair glides are 20 mm (0.79 in) discs with a gray felt face. They suit leg ends 20 mm across or a little wider, and a pack of 100 covers 25 chairs.
- Flat leg ends where you would rather not hammer: self adhesive chair glides are 22 mm (0.87 in) round with a smooth blue-gray face. They suit flat bases 22 mm across or a little wider, 20 to a pack.
- Wider flat leg ends: round and square felt pads stick on and come as 27 or 40 mm (1.06 or 1.57 in) rounds, 40 x 28 or 84 x 42 mm rectangles, or an 85 mm (3.35 in) square. Pick the one closest to the leg end without going over.
- Open round metal tube: chair leg plugs come in eight sizes from 16 to 38 mm (5/8 to 1.5 in) outside diameter. For square 1.5 in tube, use square chair leg plugs.
- Dented, slightly bent or closed tube ends: skip the plug and fit caps that slip over the outside of the leg. A tube squashed out of round needs reshaping first, or neither a plug nor a cap will grip.
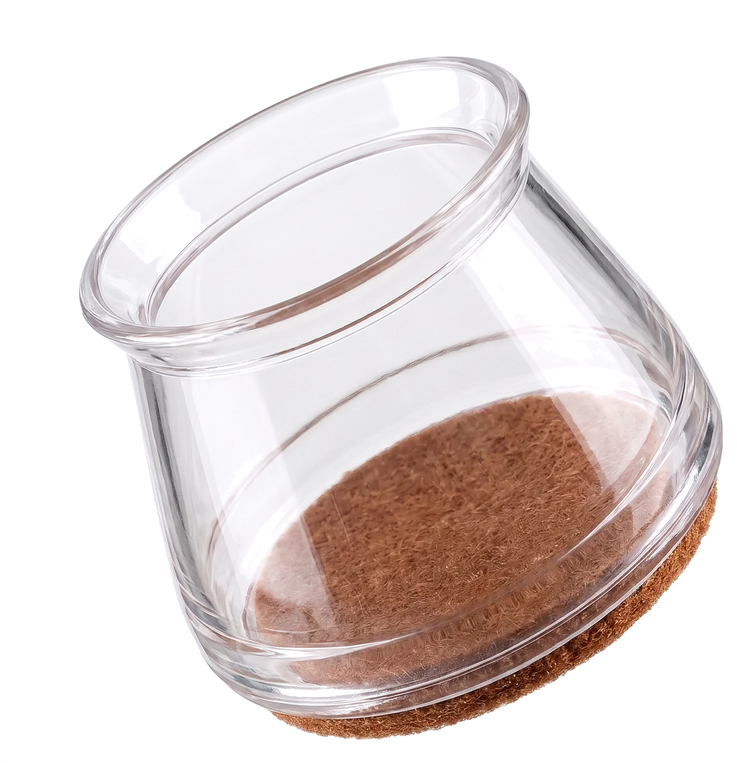
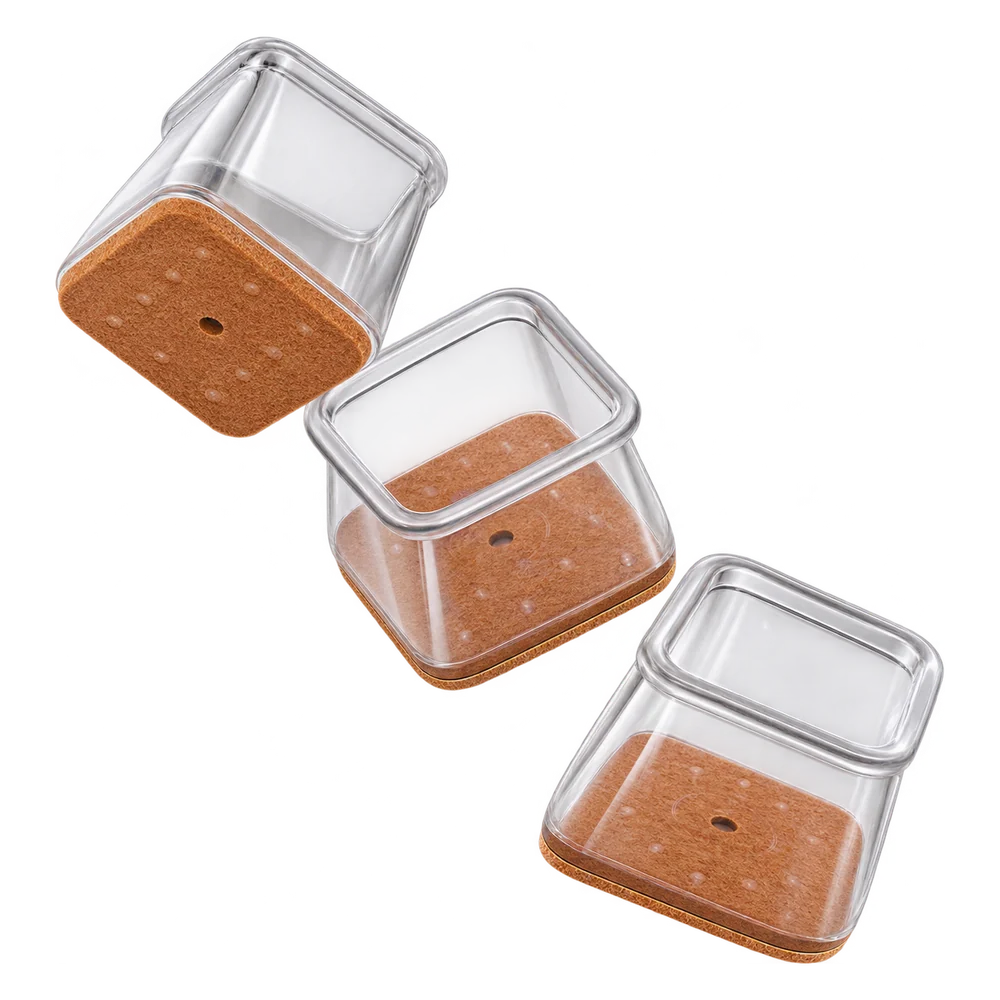
- Slip-on caps on wooden legs: clear chair leg caps push over round legs, with a 15, 22 or 28 mm (0.59, 0.87 or 1.10 in) top opening and a felt pad under the base. For square legs, square silicone chair leg caps come in 19 to 25, 22 to 28 and 35 to 40 mm sizes.
- Legs with a threaded hole or insert: buy a screw-in glide with the same thread size and stud length as the old one, and a base no wider than the leg end. Take the old glide with you to compare.
A glide should be the same size as the leg end or a little smaller. One that hangs over the edge catches on the floor and gets knocked loose.
Fit the new glides
- Nail-on: stand the glide on the center of the leg end with the nail against the wood and tap the felt with a hammer until the disc sits flat. On hard woods such as oak or maple, drill a small pilot hole first so the leg does not split.
- Stick-on: peel off the liner, center the glide, press it on firmly for about 30 seconds, then leave the chair a few hours before you drag it.
- Push-in plug: line it up with the tube and push it in by hand. On a snug tube, a few taps with a rubber mallet seat it fully.
- Screw-in: turn the new stud clockwise into the insert by hand until the base sits flat. Do not force a stud that will not start, because the thread size is wrong.
- Check for wobble: stand the chair on a flat spot and rock it. If one leg is short, take its glide off and level the leg first, or the new felt wears unevenly. Our guide on how to fix a wobbly chair shows how.
Replace all four glides at the same time. Old felt is flattened, so one new glide next to three worn ones leaves the chair standing unevenly.
How to replace chair feet on metal chairs
On folding, stacking and steel-frame chairs, the chair feet are usually plastic plugs or caps on the tube ends. Replacing them works the same way: pull the old foot off, check that the tube end is round and undamaged, and measure its outside width. A plug suits a clean open end, and a cap over the outside suits a damaged one; to compare the options, browse chair feet.
When to replace chair glides
- The felt is flat, hard, torn or packed with grit you cannot brush out.
- You can see or hear the nail, plastic or metal touching the floor.
- A glide is missing, cracked or sitting crooked.
- The chair has started to scrape or rock.
Check dining chairs every two to three months, and keep spares so a worn glide is a two-minute swap.
What a new glide cannot fix
- Scratches already in the floor stay there. Repair them separately.
- A leg end that has split, or a threaded insert that has pulled loose, needs a repair before any glide will hold.
- Stick-on glides can work loose on chairs dragged many times a day. A nail-on glide or a cap that grips the leg lasts longer there.
- Office chairs on casters roll rather than slide, so glides do not apply to them.
Questions
Can I reuse the old nail hole?
Yes, if the new nail grips firmly. If it turns or pulls out easily, fill the hole with a glued wooden toothpick, let it dry overnight, then nail the new glide in.
How do I remove a stuck chair glide?
Lever a nail-on glide with a flat screwdriver and pull the nail with pliers, and clamp locking pliers on a stuck screw-in stud. Warm a stick-on pad with a hair dryer before peeling. If a plug head snaps off, drive a small screw into the stem and pull on the screw.
Do I need to replace all four glides at once?
Yes. Worn felt is thinner than new felt, so mixing old and new glides makes the chair stand unevenly and rock.
What size replacement glide do I need?
Measure the flat bottom of a wooden leg, or the outside of a metal tube. A nail-on or stick-on glide should match the leg end or be a little smaller, and a tube plug matches the outside width of the tube. See how to measure chair legs for protectors.
Can I swap nail-on glides for stick-on ones?
Yes, on a flat leg end once the old nail is fully out. Stick-on glides suit chairs that are lifted more than dragged; on chairs pulled out at every meal, nail-on glides stay on longer.
How often should chair glides be replaced?
When the felt flattens, wears through or holds grit you cannot brush out. Check dining chairs every two to three months, since they move the most.